

Late November last year, Microsoft released an experimental feature in Canvas apps to allow co-authoring, so that multiple users can work on the app at the same time. Currently, prior to this feature, if a user is working in Canvas Studio, any other user that will try to login to Canvas Studio will be blocked stating that it is locked by the previous user.
In the post, I will demonstrate how we can enable co-authoring, and show how collaborating works when multiple users are trying to work on the app at the same time.
In order to implement this, there are a couple of prerequisites. We need to connect Power Apps to a Git repository and share the app with the other users that will be co-authoring. In order to connect to a Git repository, we first need to configure it. Currently the supported repositories that can be used are Github and Azure DevOps. In this post, we will be using Azure DevOps to demonstrate how this works.
Configure Azure DevOps:
If you have worked with Azure DevOps before, this should be pretty simple. You will need to create a new repository to use for the Canvas App and generate a Personal Access Token.
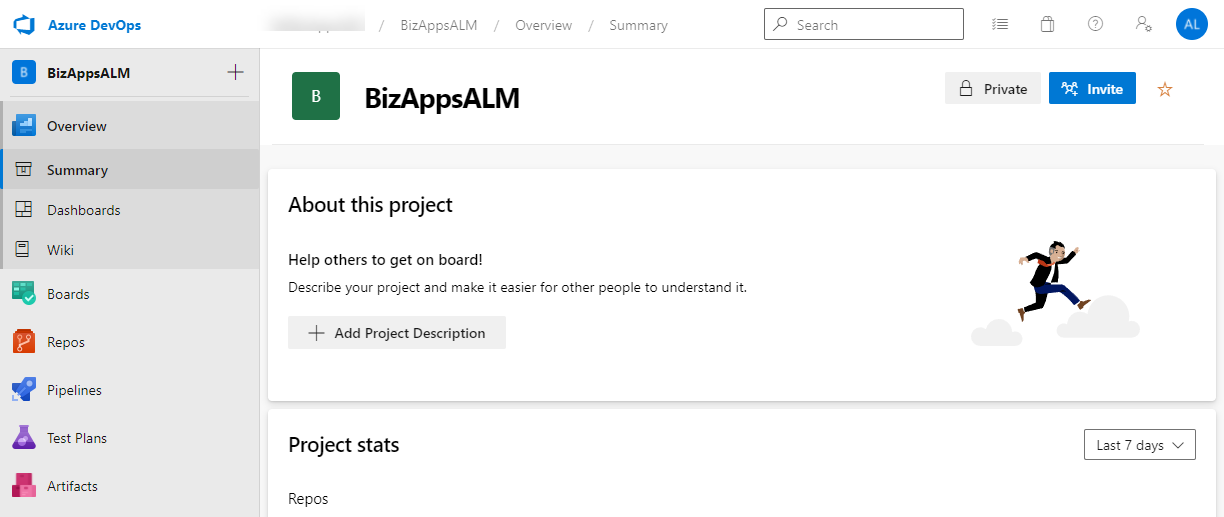
Let’s start by configuring Azure DevOps. Navigate to dev.azure.com to your organization, and open the project where you want to create the Repo. If you don’t have a Project yet, you can create a new Project. The url that you should see on your screen should look like:
https://dev.azure.com/ORG_NAME/PROJECT_NAME, where ORG_NAME is the name of your Azure DevOps organization, and PROJECT_NAME is the name of the project you are working on. The screenshot below shows what you should be seeing on the screen:
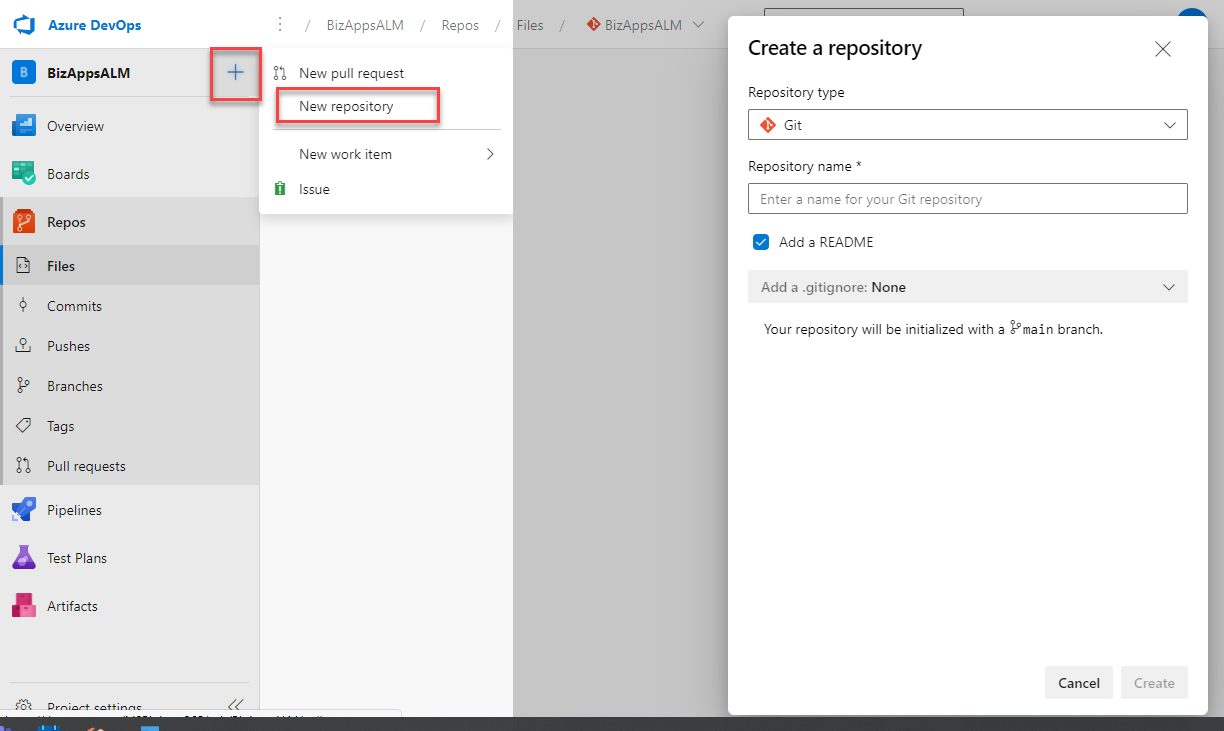
Click on Repos to start creating a new Repo. Click on the Plus sign next to the Project Name on the left navigation, and select New Repository. This will open a Panel on the right hand side. Enter the name of the Repo, and click the create button. Make sure that that Add a README checkbox is checked. The screenshot below shows this steps.
Once the Repo has been created, you can either copy the name of the Repo from the address bar.
For instructions on generating a personal access token, you can read the following post from a couple of years ago:
/Azure/Post/calling-azure-devops-pipeline-flow-canvas
You will not need to use GitBash to convert the token to base64 for this implementation.
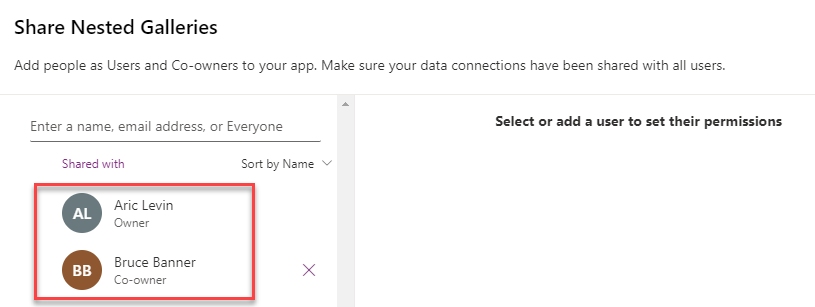
Next let’s go back to our Power Apps. If you have not already done so, please make sure to share the app with the other users that will be co-authoring. Make sure it is shared with the other users as co-owners and not just users.
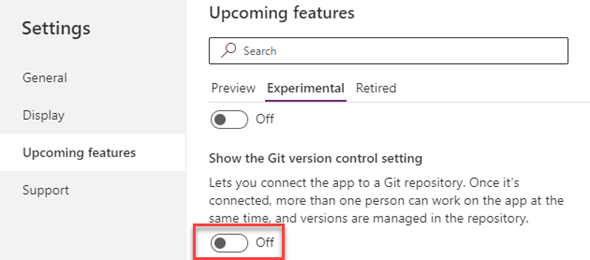
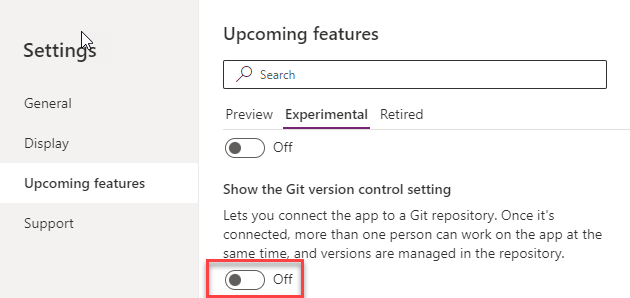
Now, as the owning user, open the app in edit mode. Click on Setting from the App main screen, or you can go to File menu, and click Settings from there. Within Settings, click on Upcoming Features, select Experimental and look for Show the Git version control setting. Turn this on.
Once this is turned on, within the popup you will see on the left navigation. Click on the link, which will show a window to connect to the Git Version control.
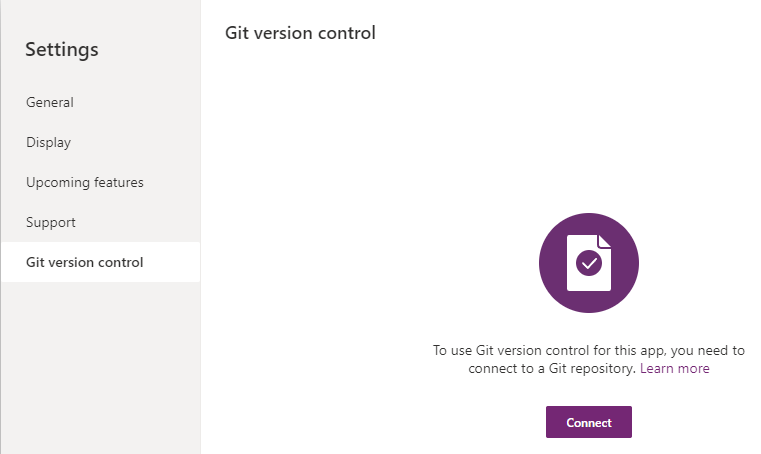
Click on the Connect button, and then enter the Git repository URL, Branch and Directory Name
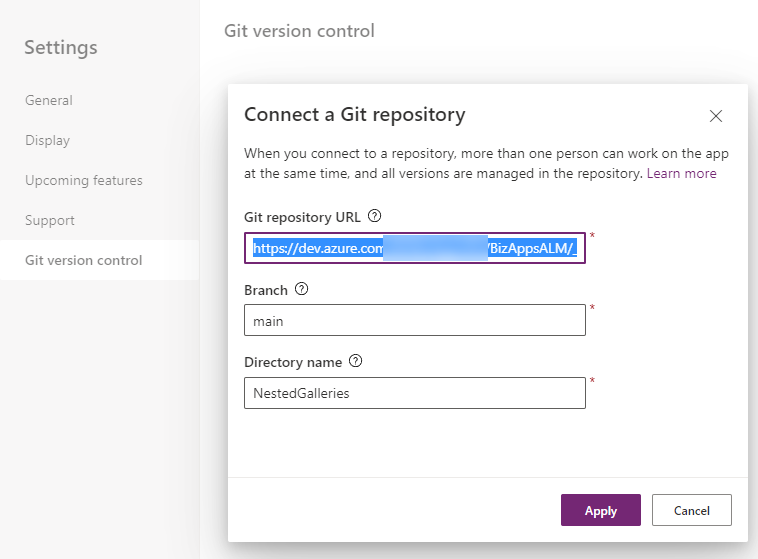
Next you will get a repo authentication window requesting your username and password. Enter your user account email in the username field, and the Personal Access Token that you created and copied as the password. If you get a message that the directory was not found, just let the system create the directory for you.
Once you have finished configuring this, you will that there is an additional button added to the Canvas apps command bar, shown in the image below. This is the Commit changes and check for updates button.

Now that we have enabled the Git version control in our app, we can try and test out Co-authoring. You will probably have to log out and log back into the app for this to work.
The video below will show you the app open in two separate windows. We will make a change to the app in one of the windows, and click on the Commit changes and check for updates button. Once done, we will click on the same button on the other window (logged in as a different user), and you will see how the changes are updated in that window as well.
NOTE: If the video does not full show in your browser, right click the video and select Open in new tab.
This is one of the long awaited features, and although still experimental, and I am sure will improve over time, this is a great start for co-authoring. I know that it is something that I will be using shortly.