

In this blog post I will review the recent announcement from Microsoft Ignite, where we saw first hand Project Oakdale, or Power Apps within Microsoft Teams. The post will show you how to enable Power Apps within your teams tenant, and how to start working on your first app.
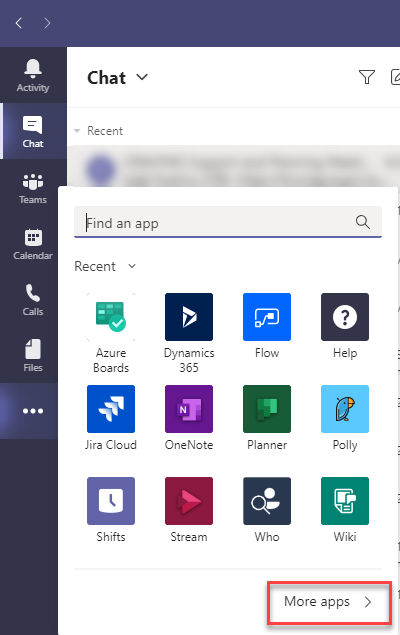
The first thing is the ability to add Power Apps into your teams client. This is pretty straight forward. On the left area navigation of your Teams client, click on the More added apps button (…), which wee pop up the find an app window. You can enter your app name in the search, or as we will do in our case, we will click on the More apps > link at the bottom right of the window.
Once you click on the More apps link, the main window within Teams will display the available apps. Currently, Power Apps is visible on the of the screen, which is easily accessible. You can click on Power Apps here, or possibly in the future, when it is no longer one of the preferred apps, you can click on the See all link.
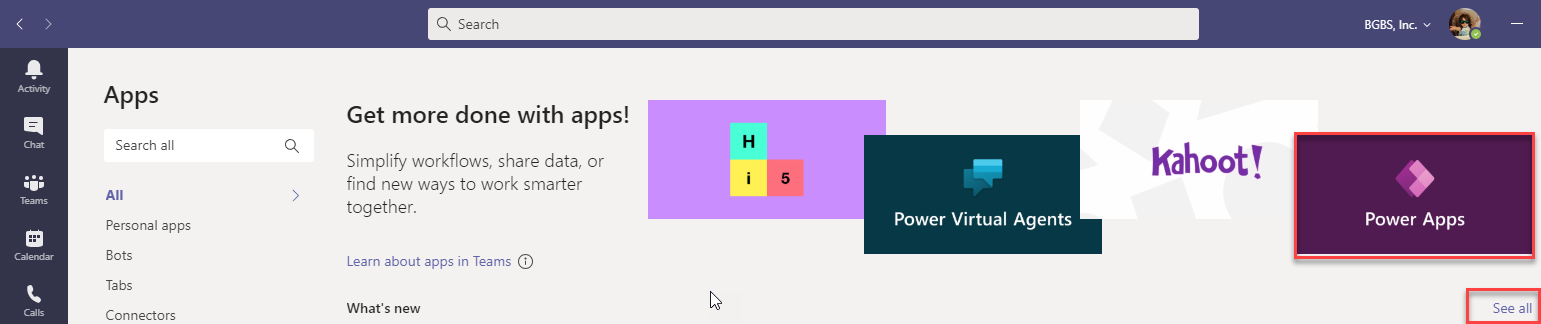
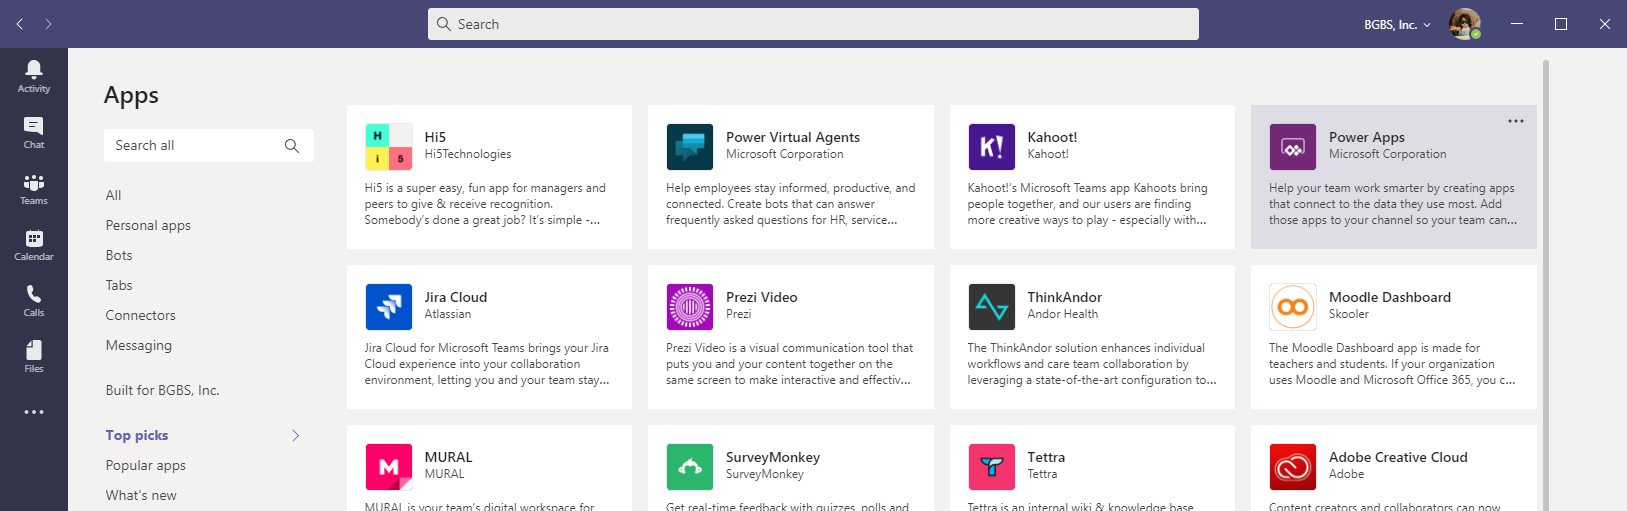
If the Power Apps is not available, and clicked on All apps, you can filter down the list of Apps, search or select one of the categories. At the time of writing of this article, if I choose Top picks from the list of categories, I will be able to see Power Apps in the first line.
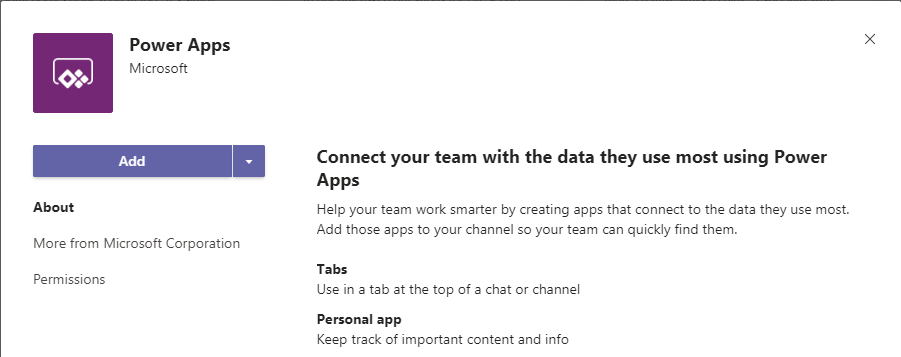
After I select the Power Apps I will get the Add New Power Apps window. This is where I will be able to add an app to Teams. You can click on the add button to add it to add it to your team, channel or a tab.
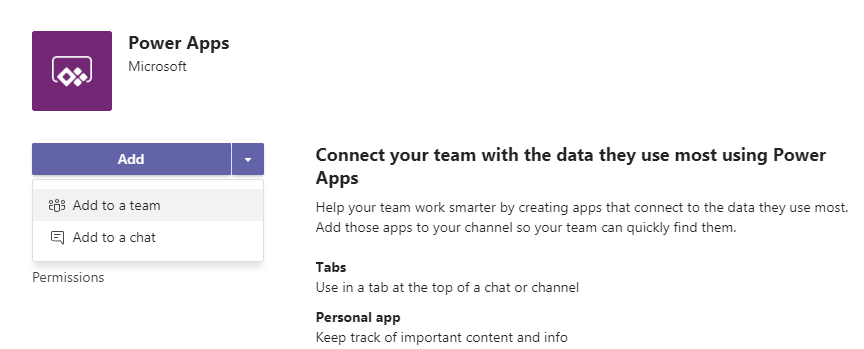
Clicking on the drop down button next to add will allow you to select whether you want to add the App to a particular team or to a chat.
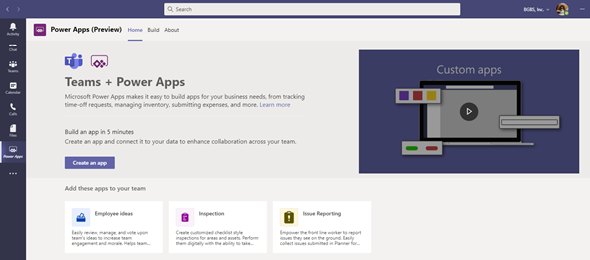
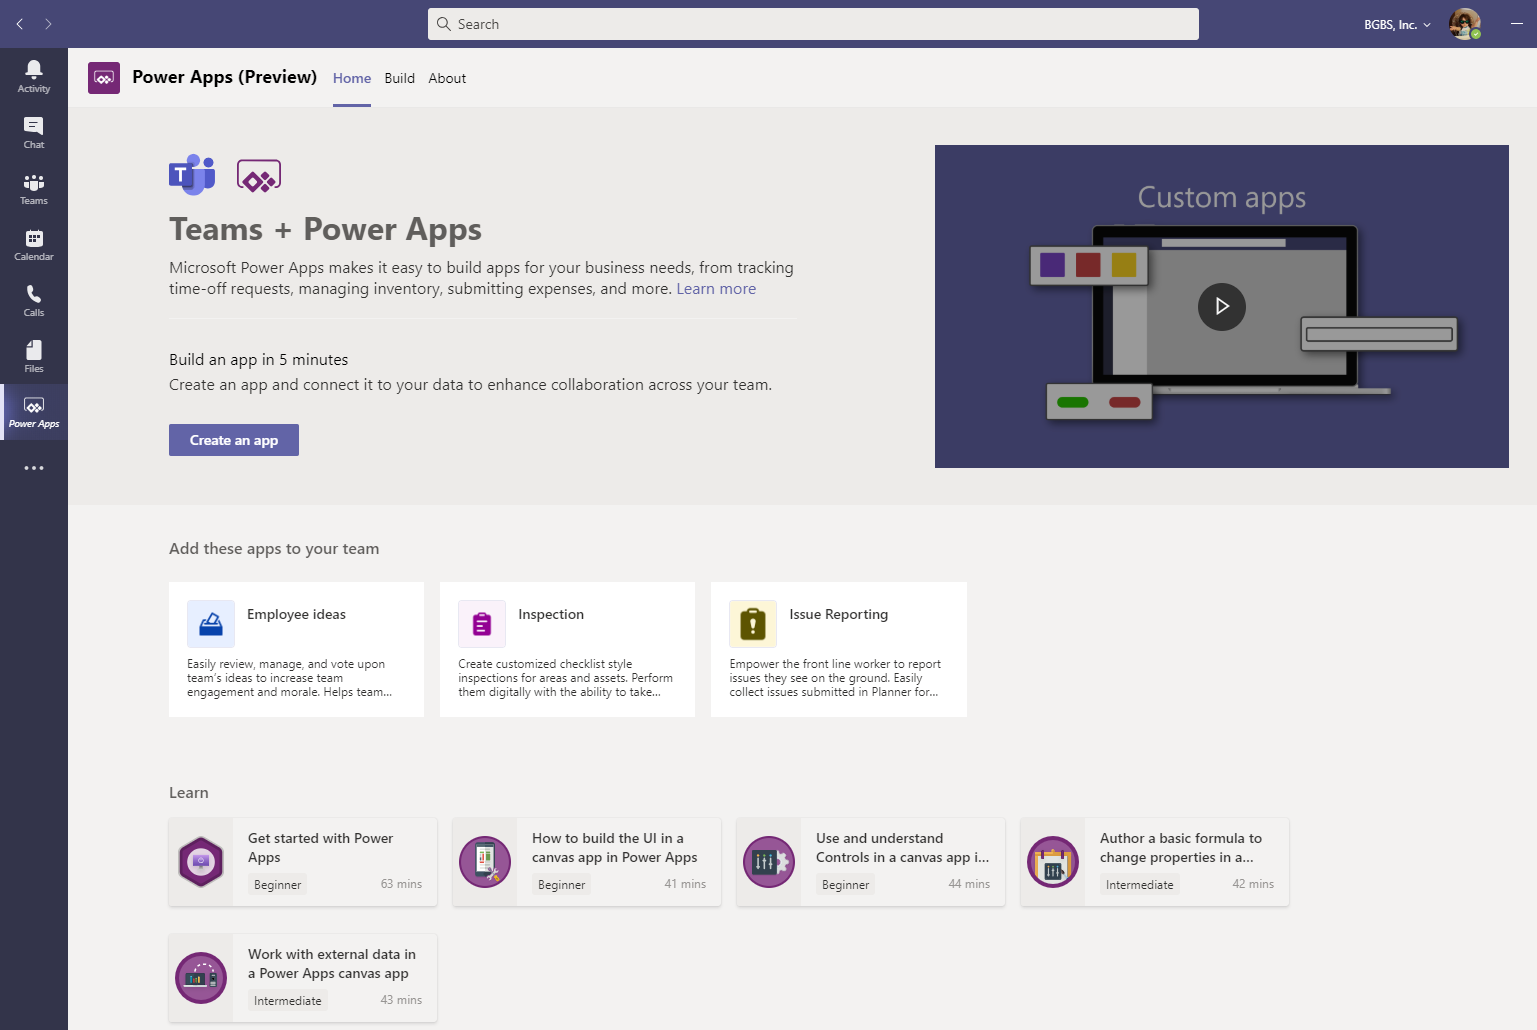
Next, you will see the Power Apps (Preview) page, where you can start creating your app and configuring it. This has already been added to your environment, so you can select one of the app templates to add to the team or create an app from scratch and connect it to a data source (or create a new data source).
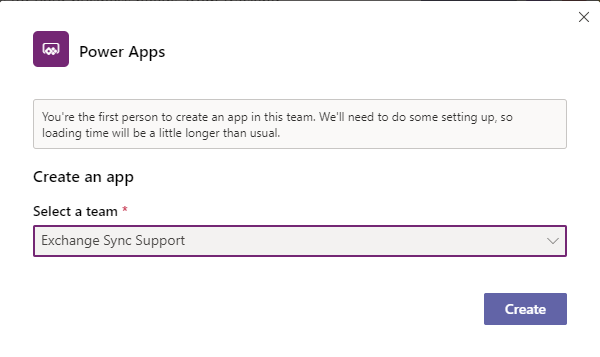
When you click the Create and app button, you will get a popup that requires you to select the team that you want to add the app to. Select the team that you want,
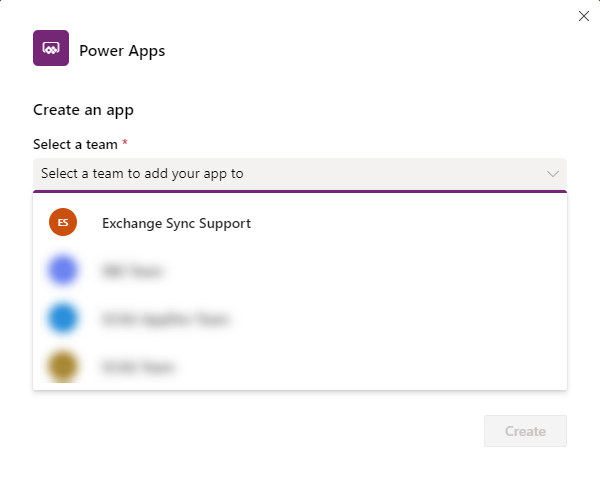
Click the Create button after you selected the team to initiate the app creation process.
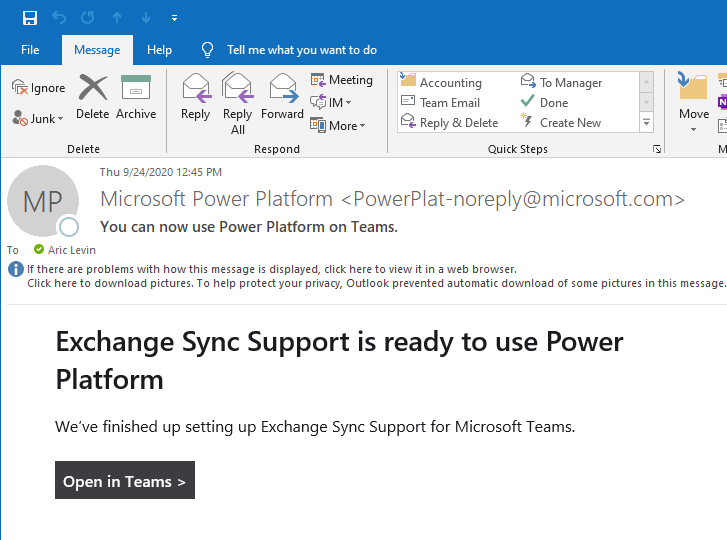
The create app process can take a minute. You can wait while the app is being generated in the background, or close the window and wait for notification that the app has been created.

You will receive a notification email from Microsoft that the team is ready to use the Power Platform, with a link to open the app in Teams.
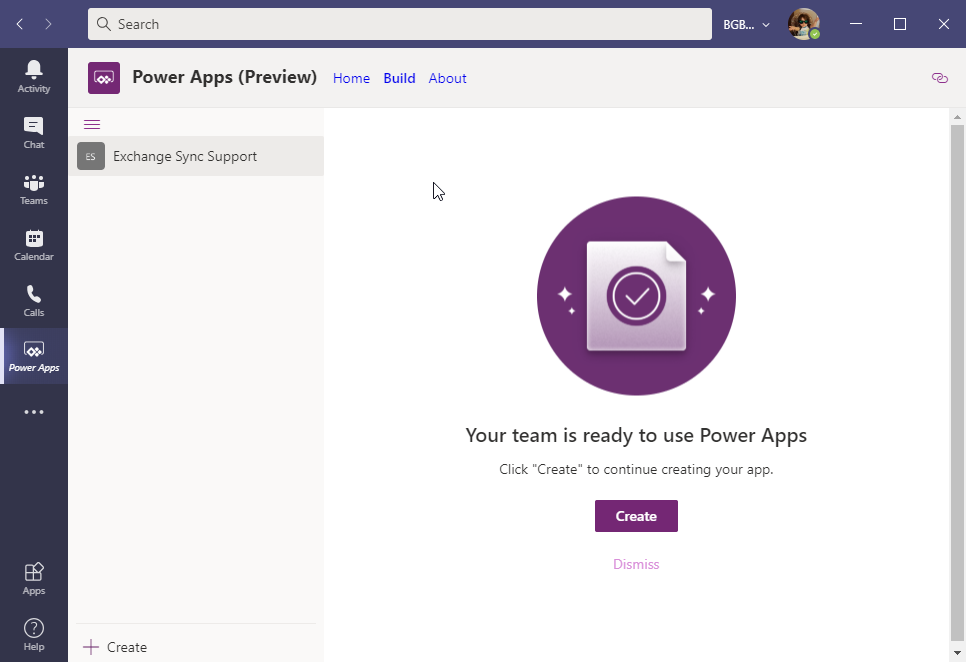
Finally when you navigate to your Team, you will see that you can use Power Apps in that team. Click the Create button to start Creating the app.
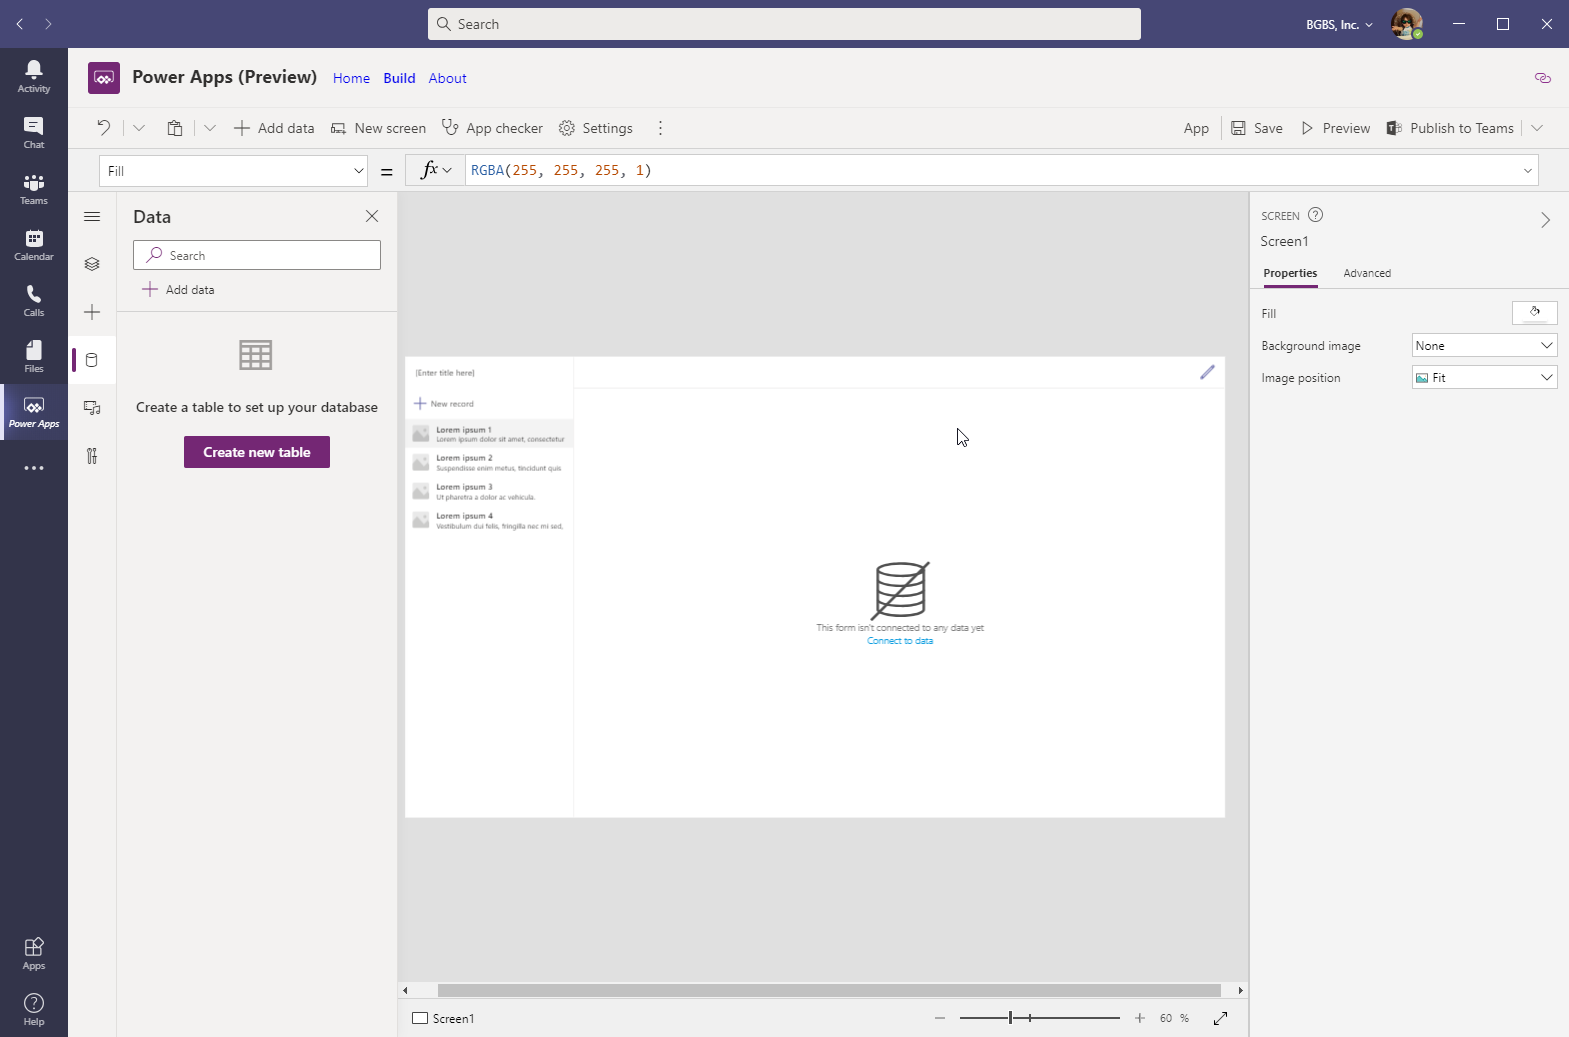
You will then finally be navigated to your Power Apps Build screen where you can design and build your Canvas App inside of Microsoft Teams, connect to your data sources, or create a data table right from within the app, and use it to display data.
I will dive deeper into Project Oakdale in an upcoming blog post.
You can find additional references about Power Apps and Microsoft Teams integration in the links below on the Microsoft docs web site:
https://docs.microsoft.com/en-us/powerapps/teams/overview
https://docs.microsoft.com/en-us/powerapps/teams/overview-data-plaform
https://docs.microsoft.com/en-us/powerapps/teams/data-platform-compare