
Microsoft Dynamics 365 Online comes with a Portal license which allows users to easily create forms that will capture user input and have that data populate the records of their different Dynamics CRM entities. In many community posts, I still see requests of how this process is done. In the following article I will demonstrate the step to create a web form in CRM and publish that form to the portal on the web site.
The first step is creating the form that will be used to fill in the information. One of the most common requests is a Contact Us form or a lead form. In our case we will create a lead form in CRM that will be used to populate that data. Note that this is only for new data entry, and not to modify existing data, as that requires enabling of authentication.
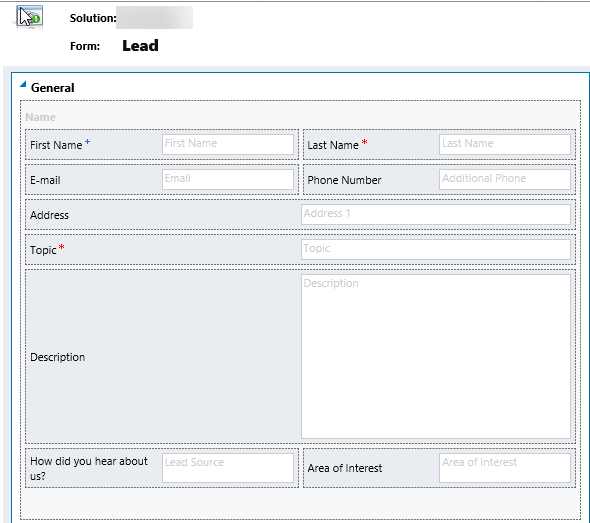
The screenshot below shows the designed lead form that will be used as a Contact Us form:
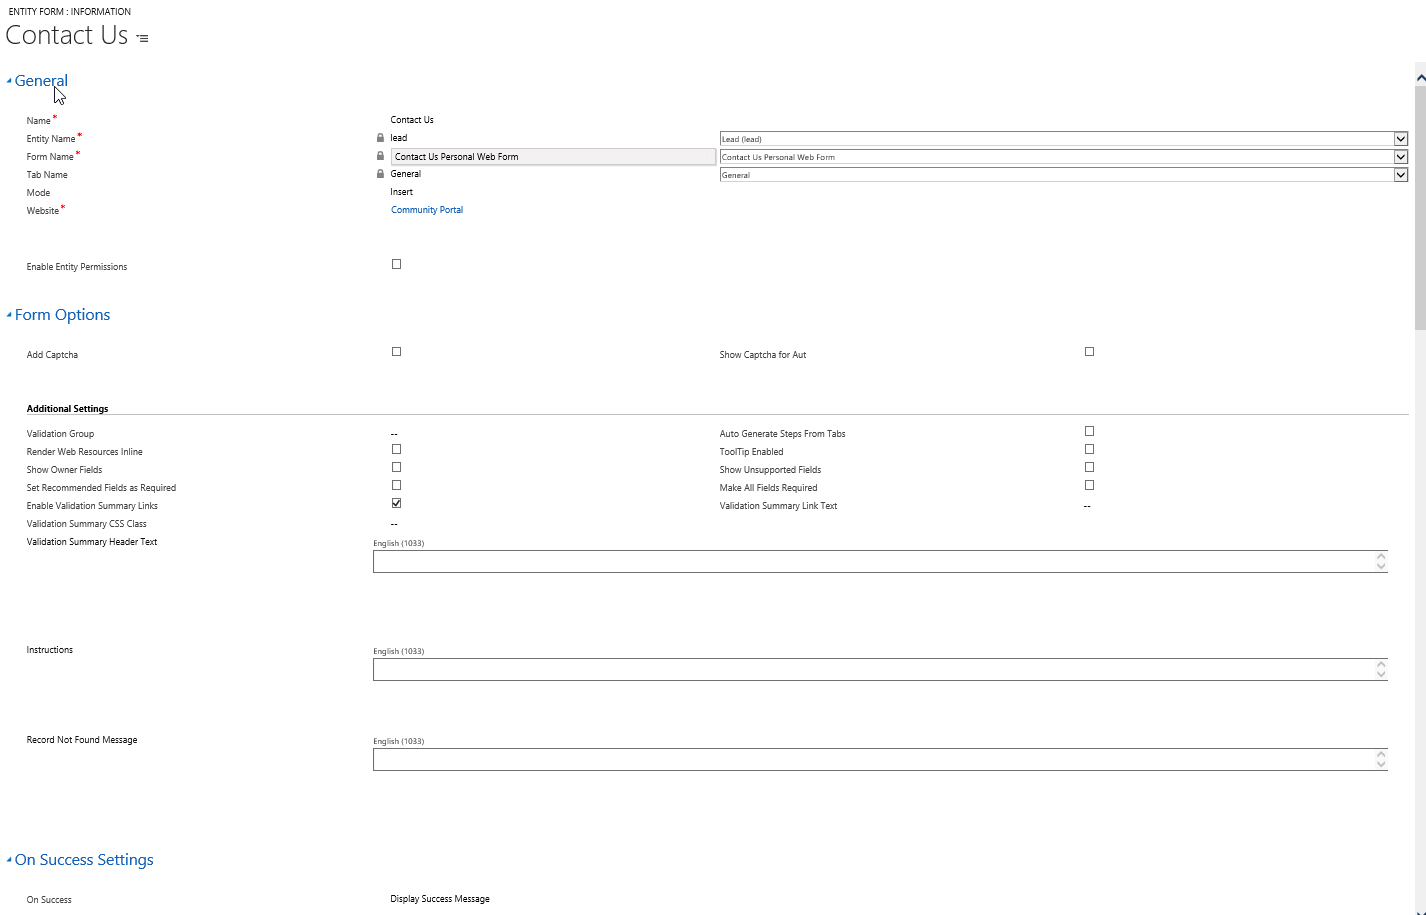
Once the lead form is designed, simply save the form and Publish your Customizations (or just Publish the lead entity). The next step is to create an Entity Form record. Creating an Entity form record tells the system, that this lead form will be used to capture data. In order to create an Entity form, we need to specify the Name of the Entity, the Name of the Form, the Tab name within the form that is being used and the Mode. The Mode in our case will be Insert, as we are planning to create a new record from this. We will also set the Success Settings to Display a message after all fields have been entered.
The screenshot below shows the Contact Us Entity form that we created for this purpose.
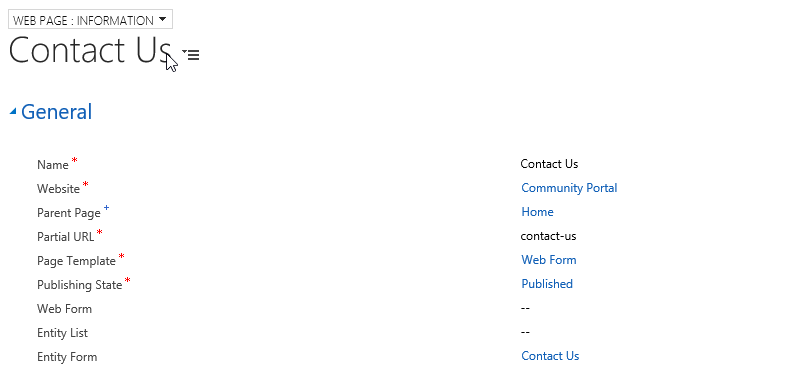
The next step is to create the web page. Although this page will be mostly made out of the form, we can insert text before the actual form, and we need to specify the Url of the page. To create the web page, we enter the website the page belongs to (usually you will only have one), the parent page, the partial url, the page template, and finally we must remember to enter the name of the Entity Form which we just created. The screenshot below shows the top portion of the Web Page:
After the Web Page is saved, the system will create by default an additional Localized Web Page for the default language. If you are set to using English, a US English localized web page will be created. You can navigate to the localized web page to add heading text or to include script/css code.
Finally, we can navigate to the actual page in our browser. In our particular case the Contact Us parent page is the home page, and the partial url will be contact-us, which means we will be able to navigate to the page by entering: https://mysite/contact-us
The end result is shown below:
