
Have you worked on a project with multiple teams where you need to update the changes from all instances into a single integration instance? There are multiple options for doing this, some manually and some automated, but in this post I will discuss a little hack (using Azure DevOps for deployment) that can be used to deploy the separate solutions into a single solution in the target instance.
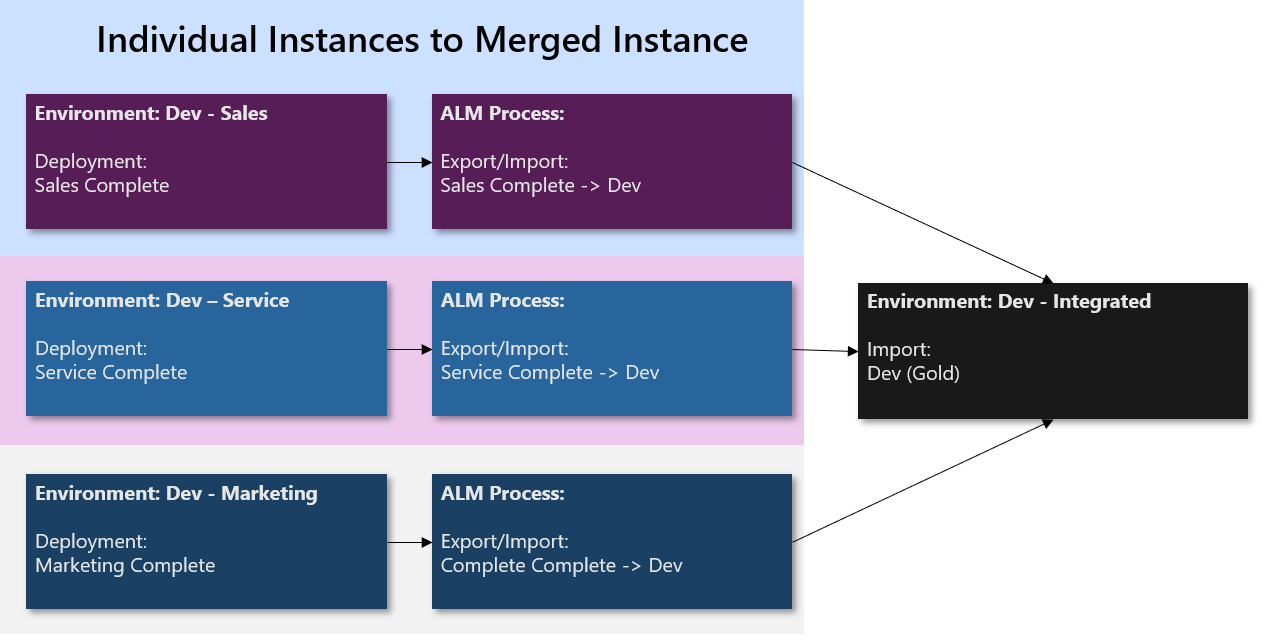
In our case we have 3 separate instances called Sales, Marketing and Service, each one with its own set of developers, developing different parts of the application. There is another instance called Dev – Integrated, which contains the merged code from all three environments. It is important to note that all of these environments are Development environments, thus all unmanaged. The image below shows the layout of these environments and the process.
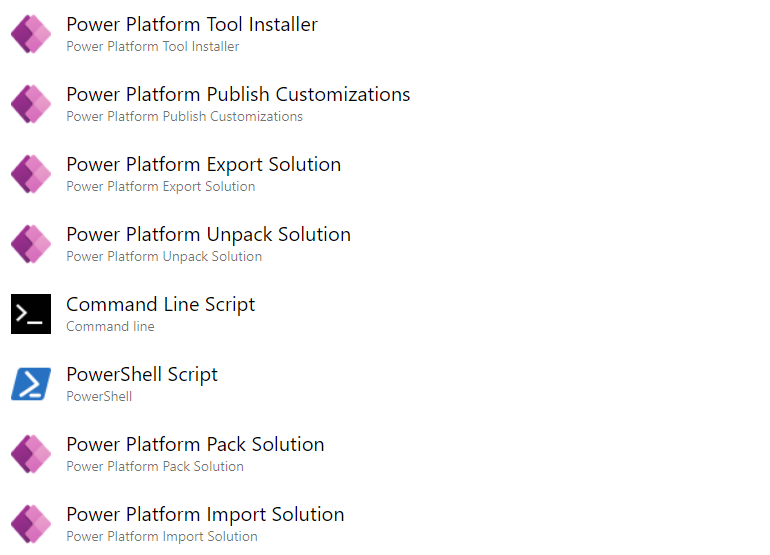
The entire process for all three instances is the same, so I will basically walk through the process of a single instance and this can be replicated for the others. The screenshot below shows the steps of the Azure DevOps pipeline, and I will walk through the different steps thereafter. The most important step is the PowerShell Script where we will be modifying the solution.xml file.
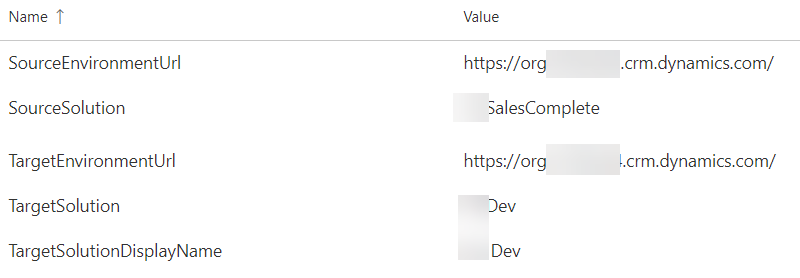
Before we continue, let’s take a look at the variables that are being used in the solution. I have the source and target environment Urls, the name of the Source solution and the name and display names of the Target solutions (shown in the image below).
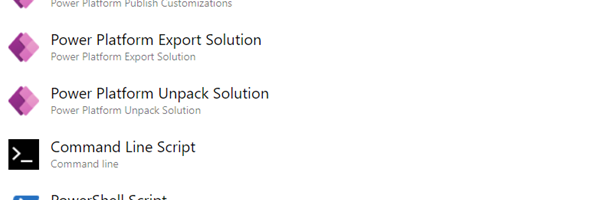
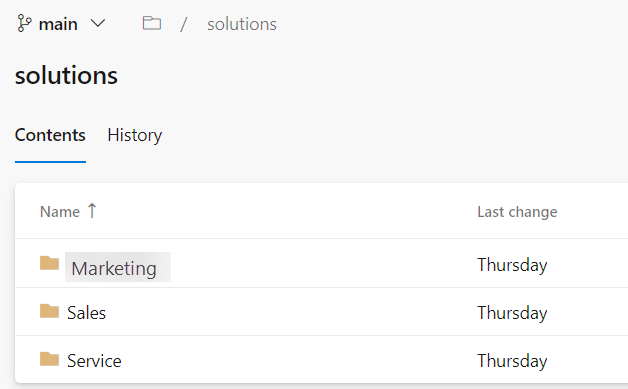
We start by adding the Power Platform Tool Installer in order to install all the Power Platform dependencies, and then add the Power Platform Publish Customizations to publish any changes in the Source instance. In the Power Platform Export Solution we provide the Service account, Source environment and solution name that we want to export, and then in the Power Platform Unpack solution will uncompress the zip file containing the solution into it’s individual elements. As this will be done into 3 separate instances, our Repos structure contains 3 separate solution folders for each of the instances. The below images shows the Repos structure
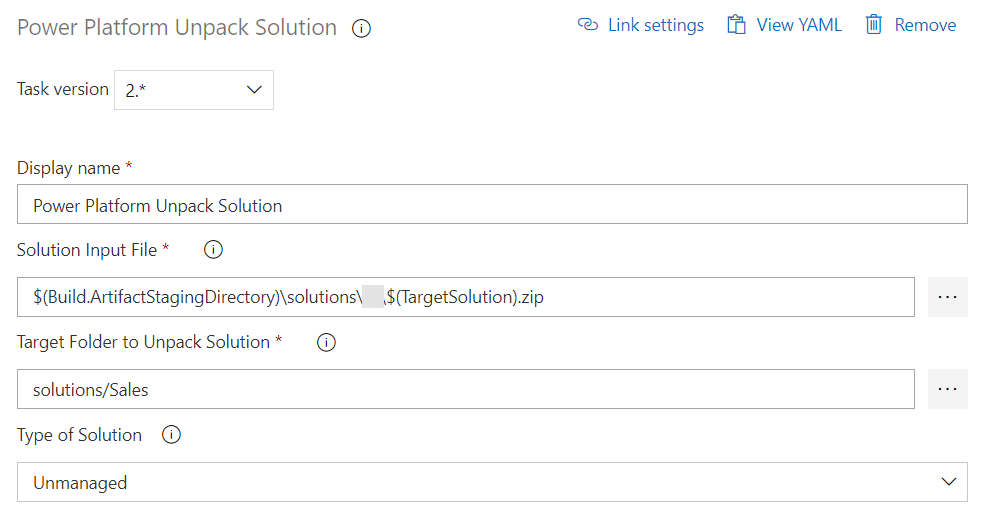
Select the solution Input file and the Target Folder to Unpack the solution, and then select Unmanaged as the type of solution. The below screenshot shows the settings.
In the next step we will use the Command Line Script to add the unpacked files into Source Control. The Script is shown below
echo commit all changes
git config --global user.email "deploy.pipeline@contoso.com"
git config --global user.name "deploy.pipeline"
git checkout main
git status
echo "adding"
git add -A
git status
echo "commiting solution"
git commit -m "solution export"
echo push code to new repo
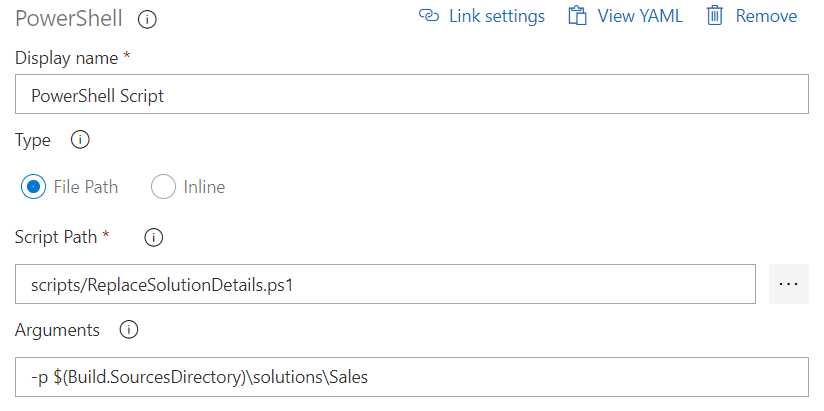
git push origin mainNow, let’s take a look at the PowerShell Script. In here, what we are doing is going to replace the Solution Manifest Unique Name and the Solution Manifest Localized Name and update them in the solution.xml file, so that when we repack the solution and reimport them, they will be imported on top of the existing merged solution. The main purpose of this is to save the steps of having to deploy a separate solution and then copying the newly added elements from the deployed solution into the merged solution. Let’s first go ahead and look at the pipeline task. I am using a Script file for this, and adding the path of the directory containing the extracted files. The image below show the PowerShell Script task.
Now let’s take a look at the ReplaceSolutionDetails.ps1 file. The first thing that we add to the file is the Input parameter for the path, so that the script file will know which file to replace.
param (
  [Parameter(Mandatory = $true, HelpMessage = "Enter the path to the unpacked solution")]
  [Alias("p", "path")]
  [string]$solutionPath
)
Next, I create a function to get the Solution.xml file and return it to the calling method so that it can get the fully qualified path name.
Function GetSolutionXmlFileName {
  # Resolve any relative folder provided to script to full pathname
  $solnxml = Resolve-Path $solutionPath

  $solnxml = Join-Path $solnxml "Other"
  $solnxml = Join-Path $solnxml "Solution.xml"

  if (!( Test-Path -Path $solnxml -PathType Leaf)) {
    Write-Error "Not valid solution folder. $solnxml does not exist"
    exit
  }
  return $solnxml
}
Next steps is to create two additional functions to retrieve the Xml Nodes for the Unique Name and the Localized Name.
Function GetUniqueNameNode([xml]$xml) {
  $node = $xml.SelectSingleNode("/ImportExportXml/SolutionManifest/UniqueName")
  return $node;
}

Function GetLocalizedNameNode([xml]$xml) {
  $node = $xml.SelectSingleNode("/ImportExportXml/SolutionManifest/LocalizedNames/LocalizedName")
  return $node;
}
Finally, we execute the Main program which will call all of these functions, make the changes to the code and save the Xml file.
$fileName = GetSolutionXmlFileName
# Read solution xml
Write-Host "Reading ${fileName}"
[xml]$xml = Get-Content $fileName
$uniqueName = GetUniqueNameNode($xml);
$uniqueName.innerText = "IntegrationDev"
Write-Host "Unique Name change to " $uniqueName.innerText
$localizedName = GetLocalizedNameNode($xml);
$localizedName.description = "Integration Dev"
Write-Host "Localized Name changed to " $localizedName.description
$xml.Save(${fileName})
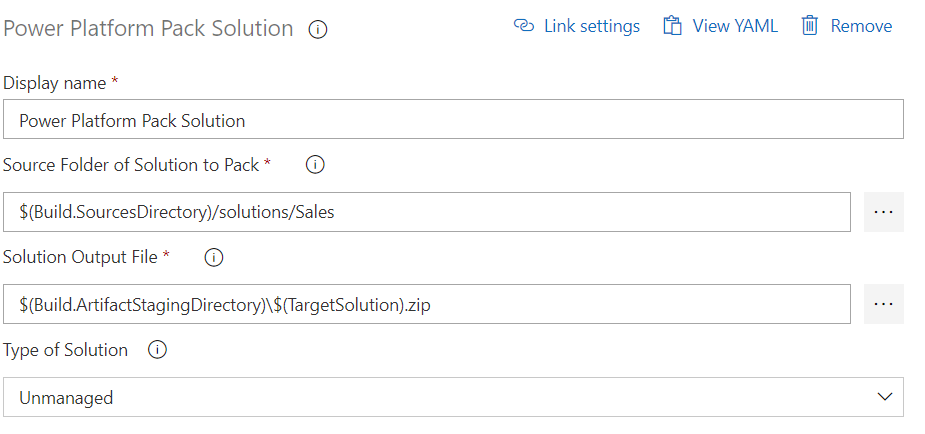
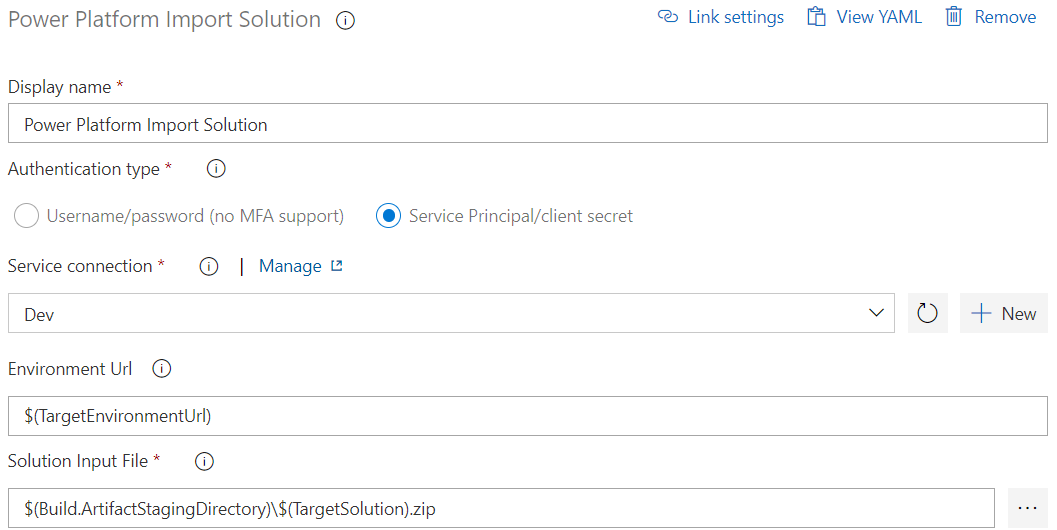
Write-Host "Xml file " ${fileName} " saved."Now that the code has been completed, the final two steps are to repack the solution and import it into the target environment. The two screenshots below show the configuration of these steps.
I hope that this might help resolve some deployment issues for anyone who is facing them.